
Installing the GNU Screen on Debian
Step by step guide and HOWTO
Debian Linux is known for its stability and security, making it a reliable choice for servers and workstations.
It also has a vast software repository with extensive community support, ensuring access to a wide range of applications.
GNU Screen does not require Xorg/X11 or any graphical environment like X11 or Wayland.
GNU Screen does not display graphics.
It is purely a text-based terminal multiplexer, designed to run within a terminal emulator or on a TTY (virtual console).
It operates independently of any graphical system and works directly in the terminal, whether that terminal is running in a GUI environment or directly on the Linux console.
Everything in GNU Screen is text-based, meaning it operates entirely within a terminal (console) environment and does not support graphical user interfaces (GUIs) or display any graphical elements.
No Xorg/X11 needed: GNU Screen runs completely within a terminal session, so no graphical environment is necessary.
Works in TTY: You can use GNU Screen on a virtual console (accessible with Ctrl + Alt + F1 to F6 on most Linux systems).
Terminal Multiplexing: Screen’s purpose is to allow you to manage multiple terminal sessions in a single window, even over SSH or other remote connections, without requiring any graphical interface.
Here’s what GNU Screen does:
Allows you to run multiple terminal sessions in a single window.
Lets you detach from a session and reconnect to it later, even after logging out.
You can split your terminal window into multiple panes for multitasking.
Today we shall install the GNU Screen on Debian.
We need to complete several steps to get it working correctly.
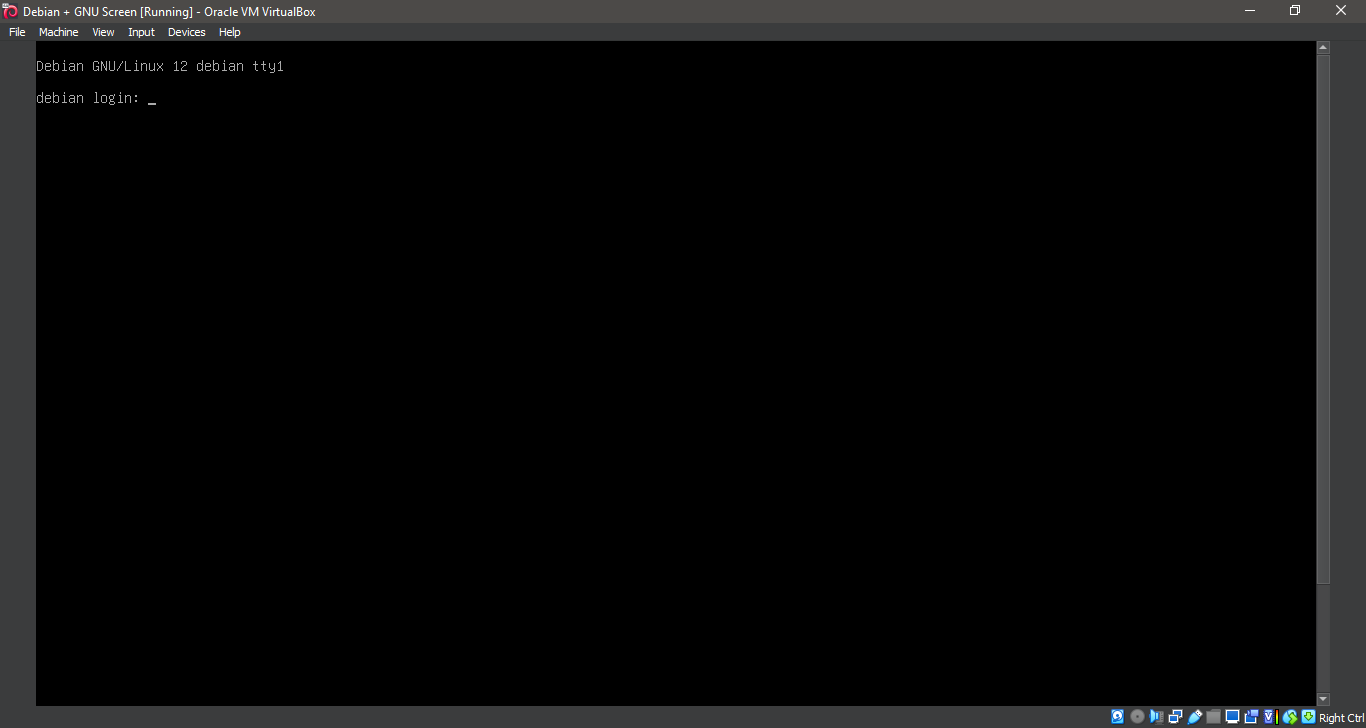
1. Boot the system -- System Ready.
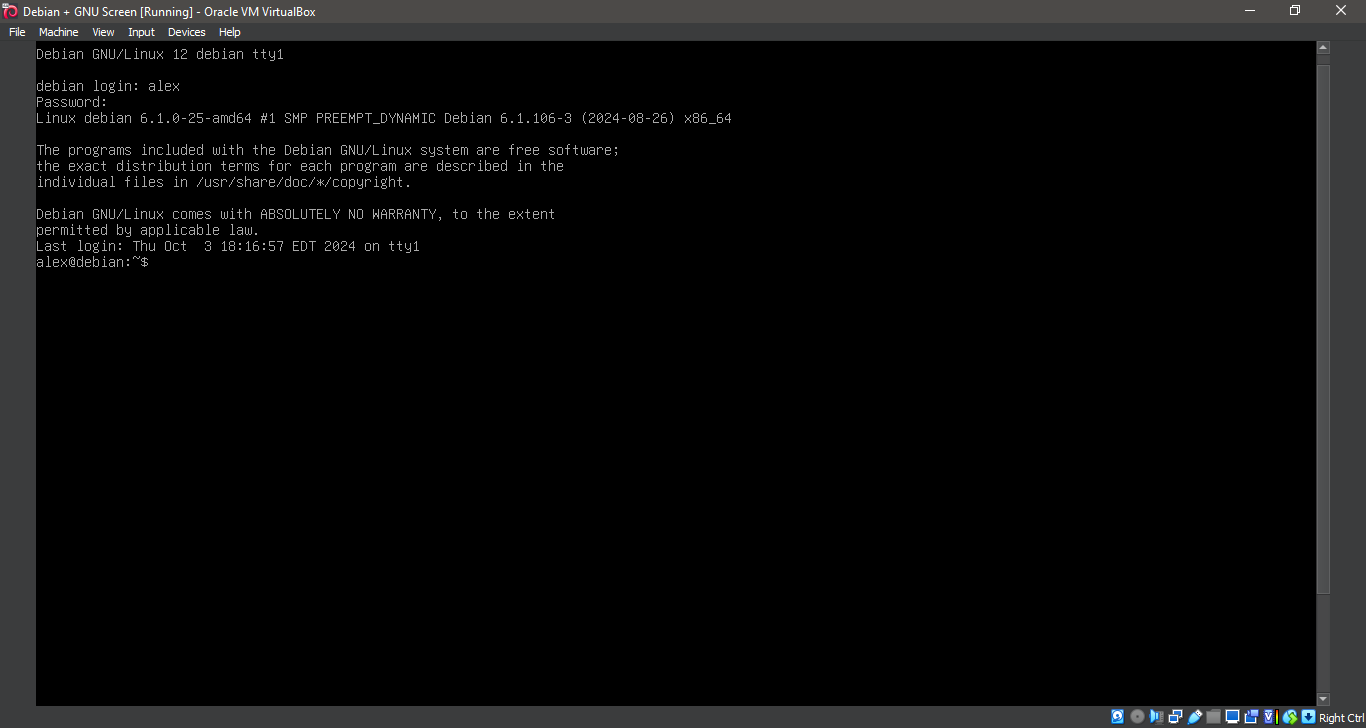
2. Boot the system -- Logged In.
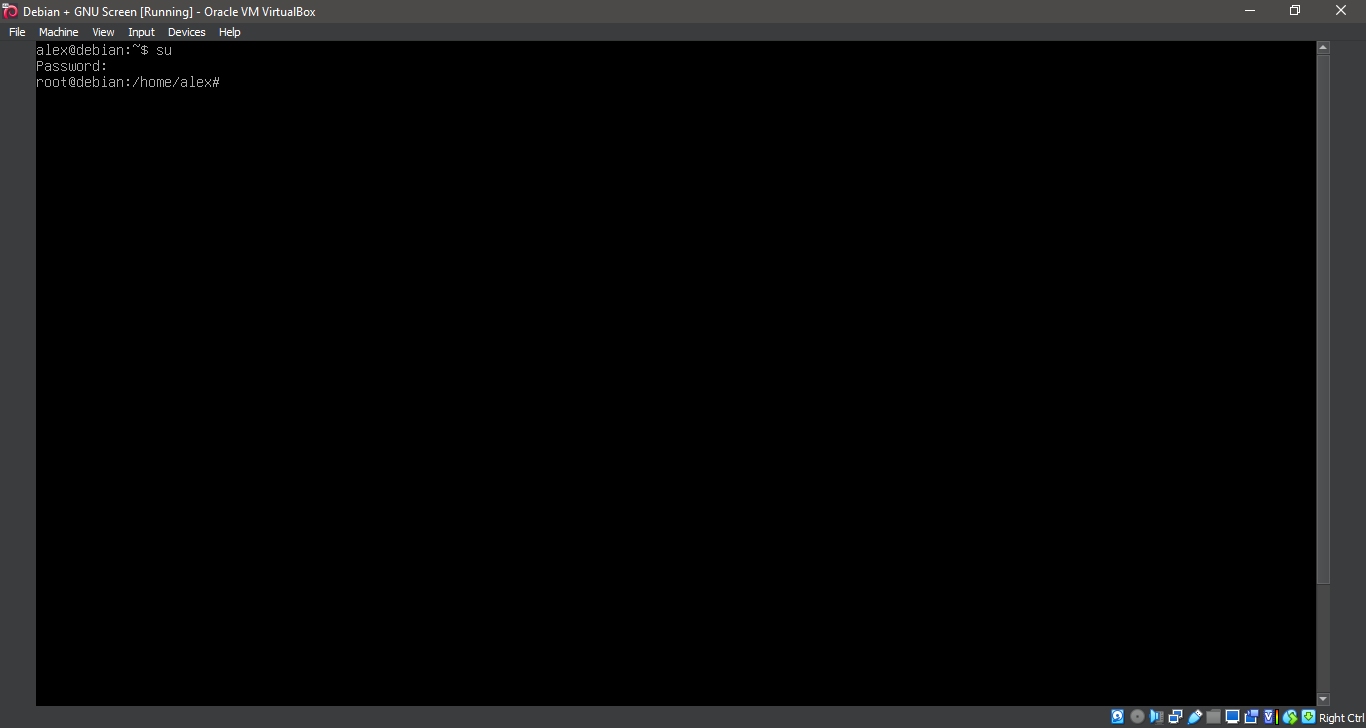
3. Switch to root
su
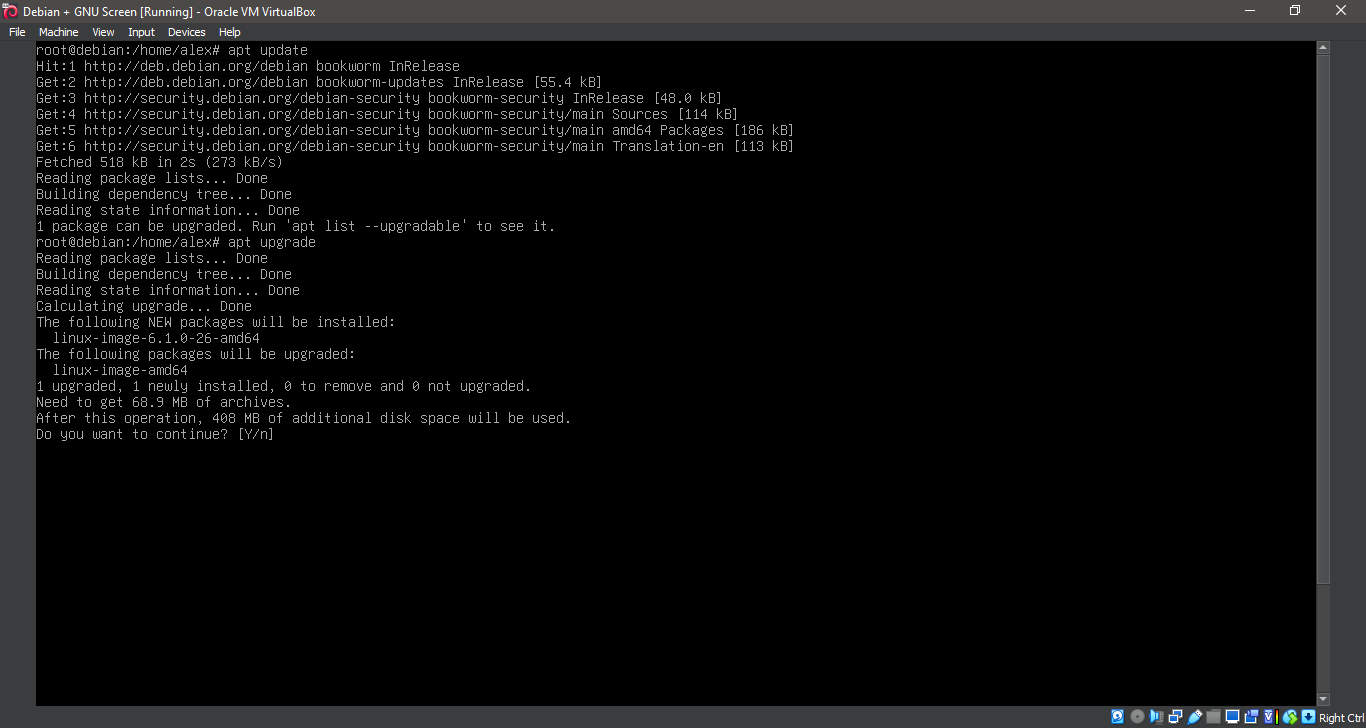
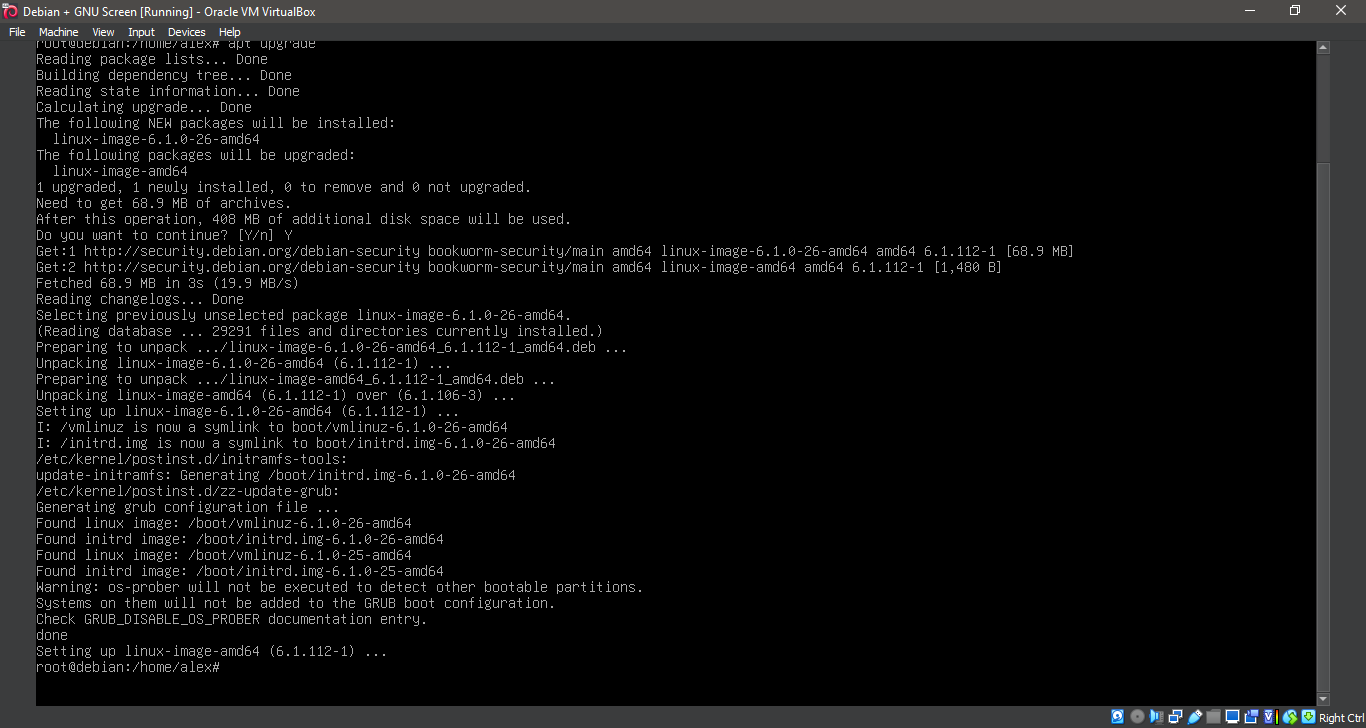
4. Running update
apt-get update
apt-get upgrade
5. Running update
apt-get update
apt-get upgrade
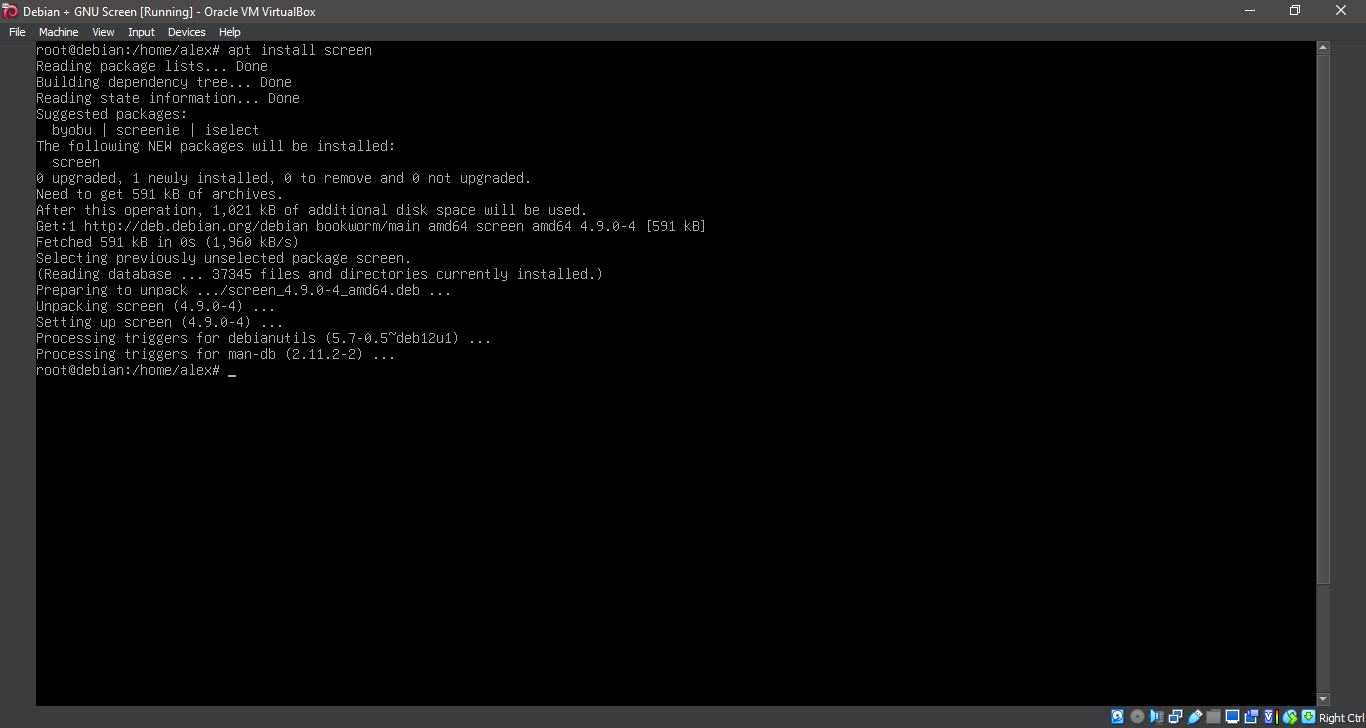
6. Running 'apt install screen'
apt install screen
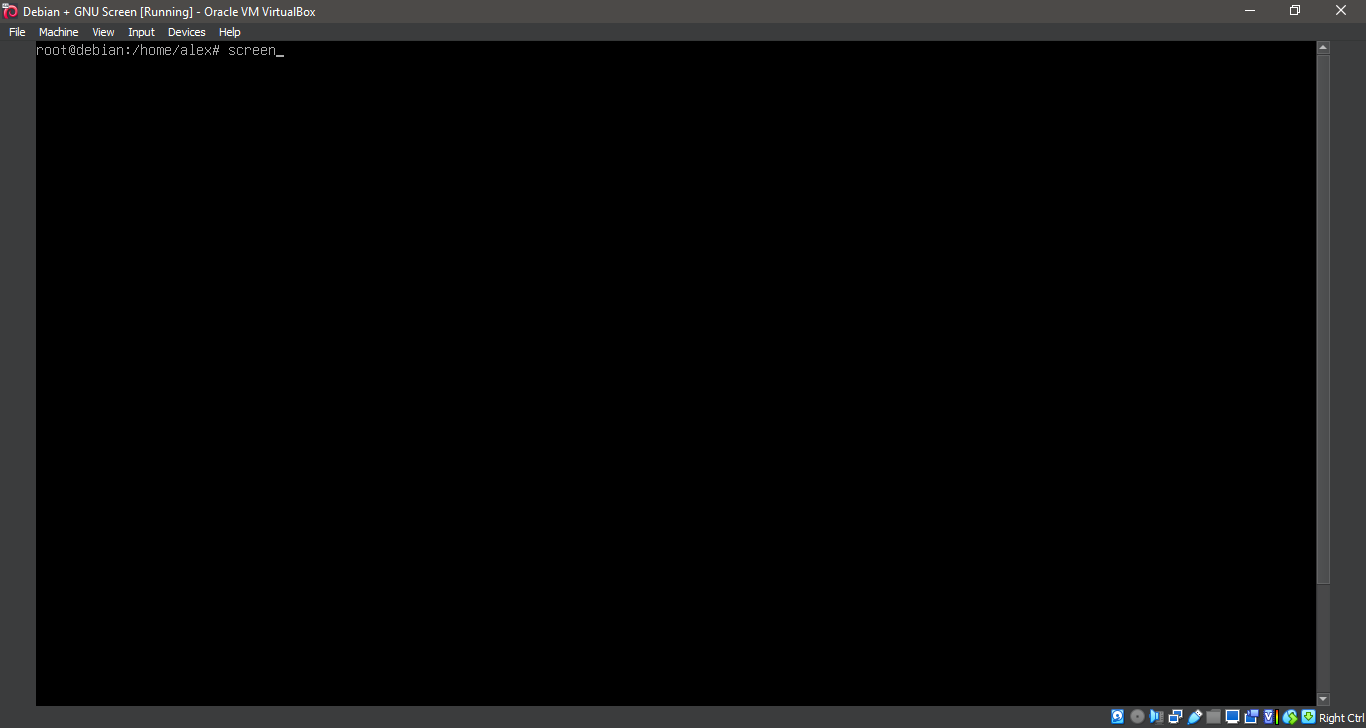
7. Running 'screen'.PNG
screen
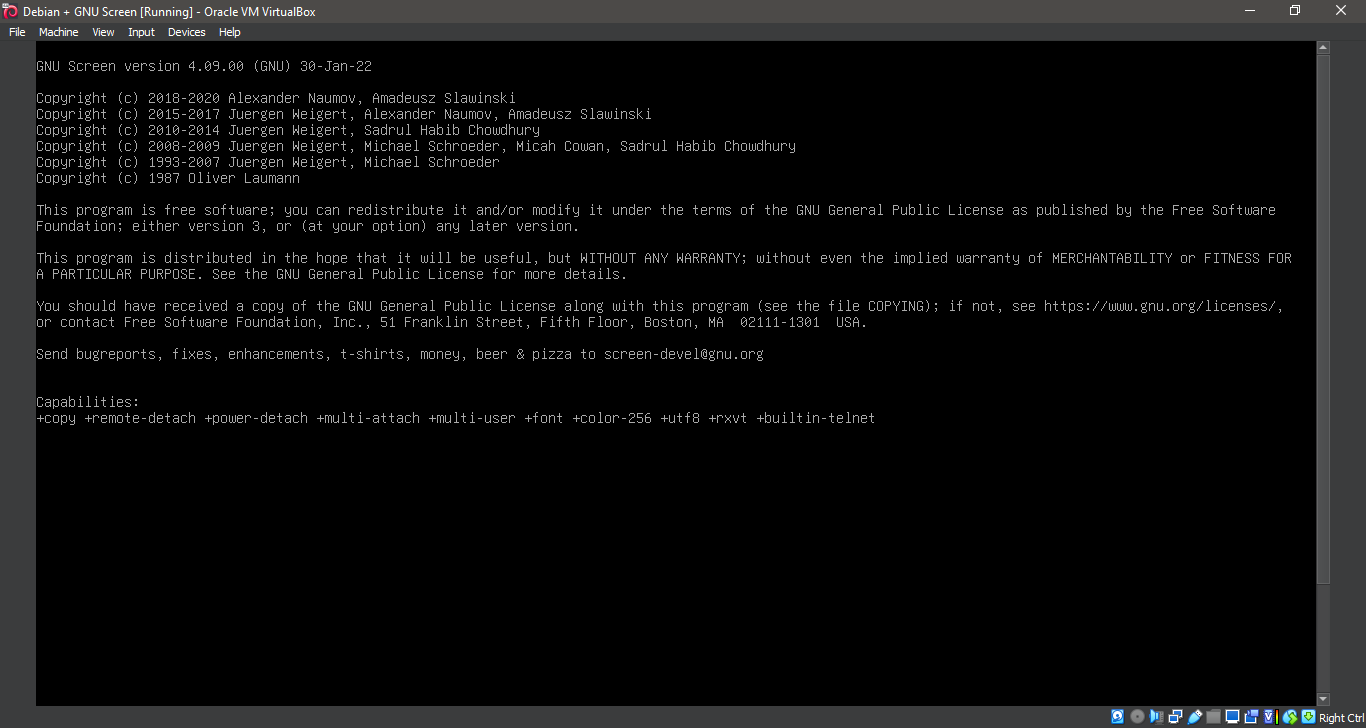
8. Running 'screen'.PNG
screen
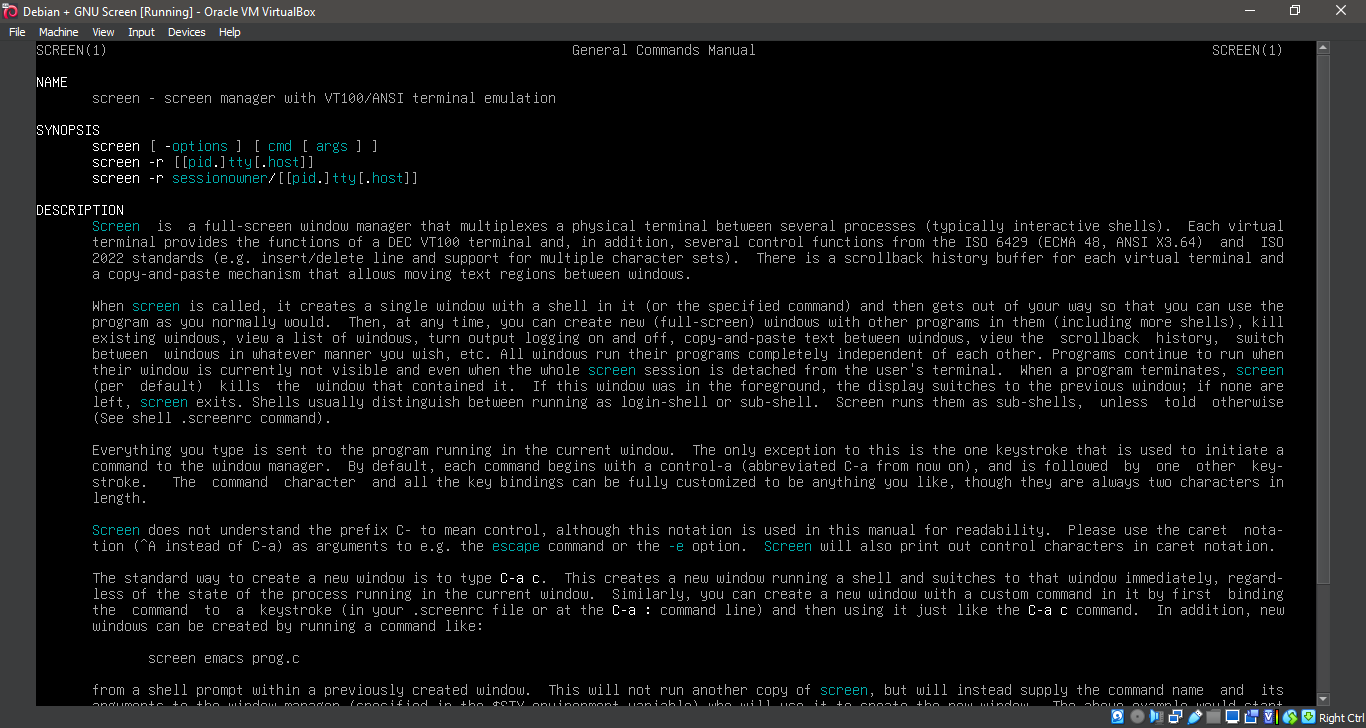
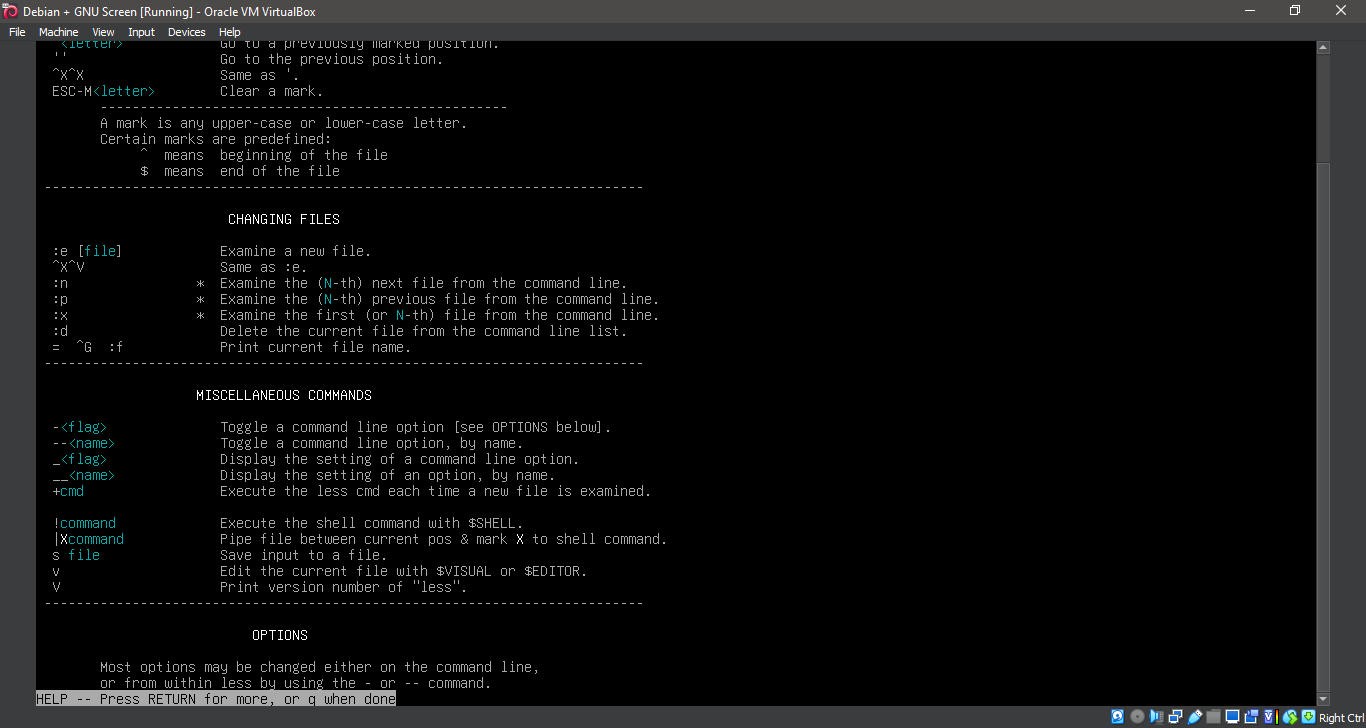
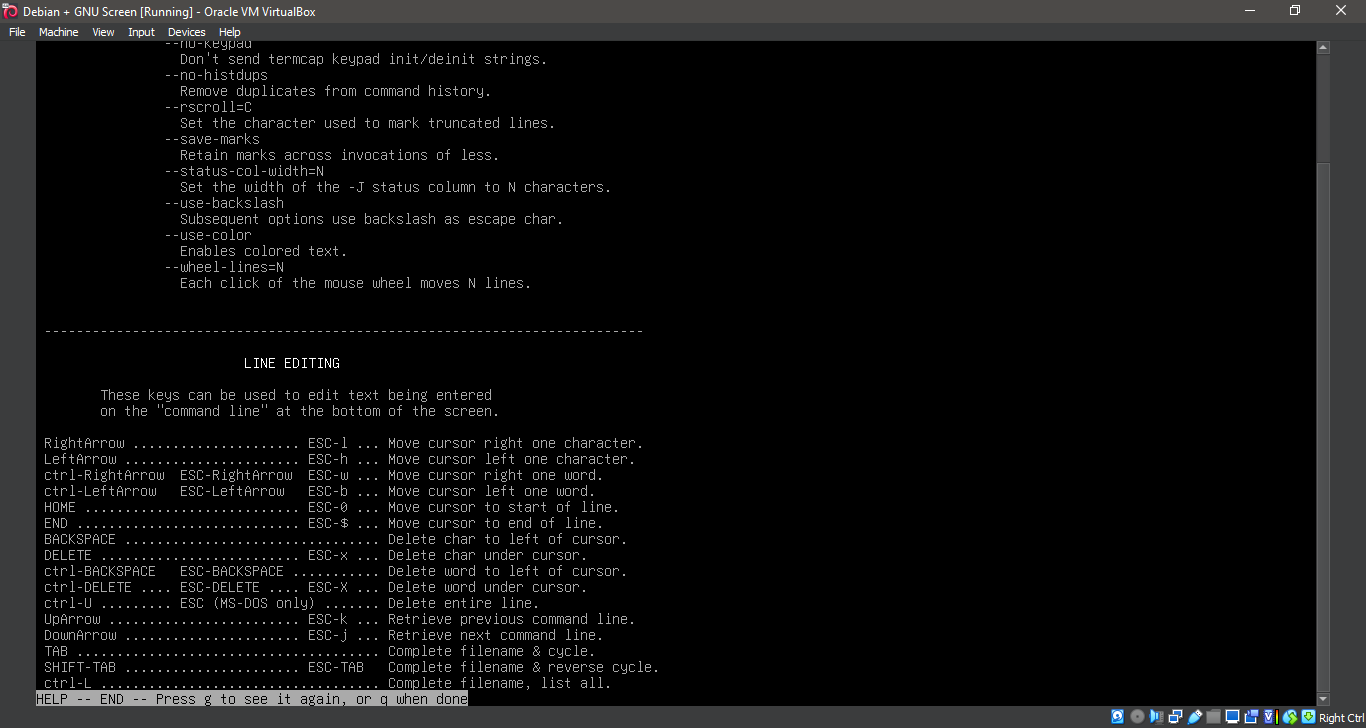
9. Running 'man screen'
man screen
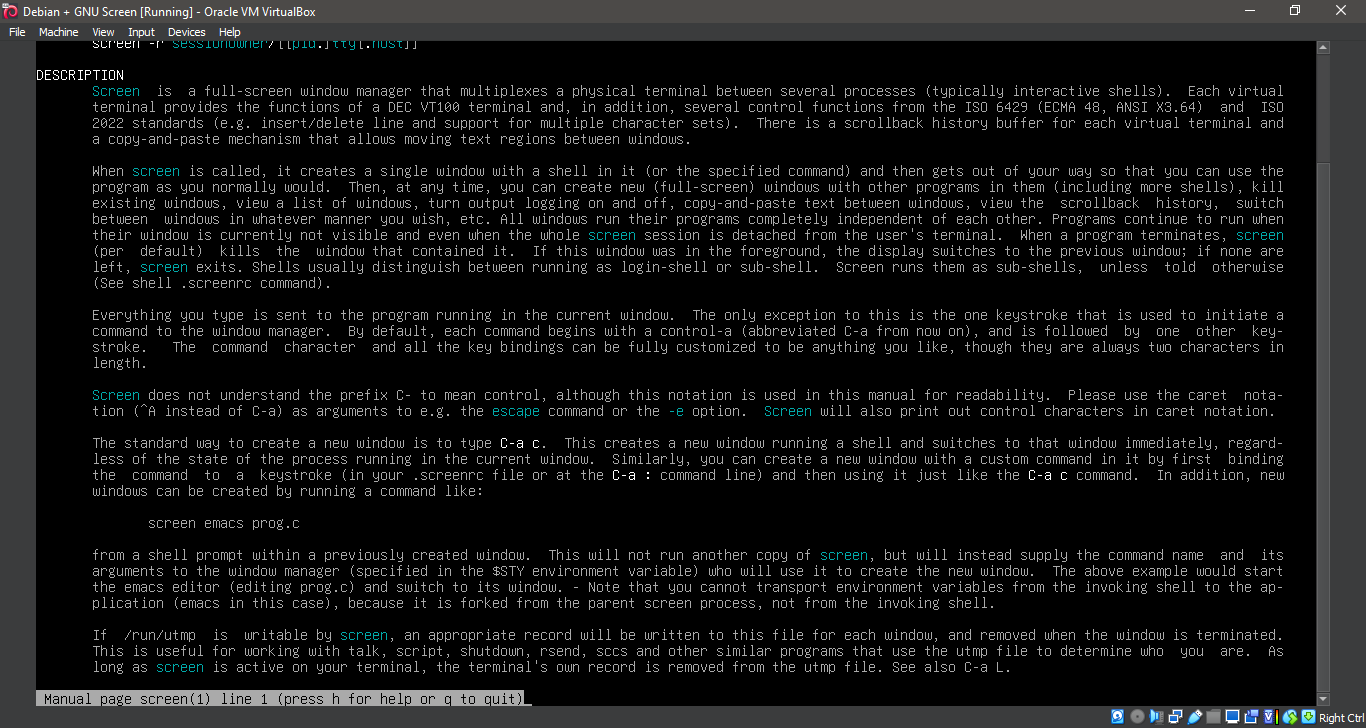
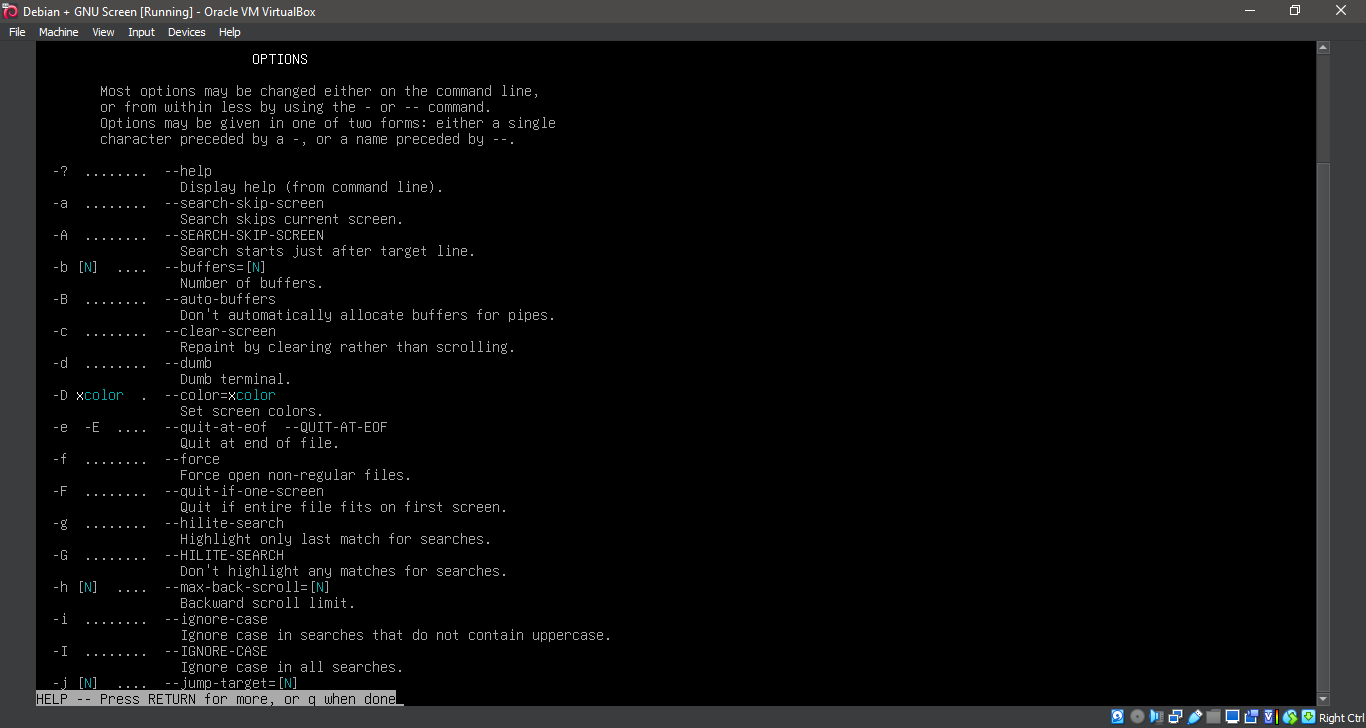
10. Running 'man screen'
man screen
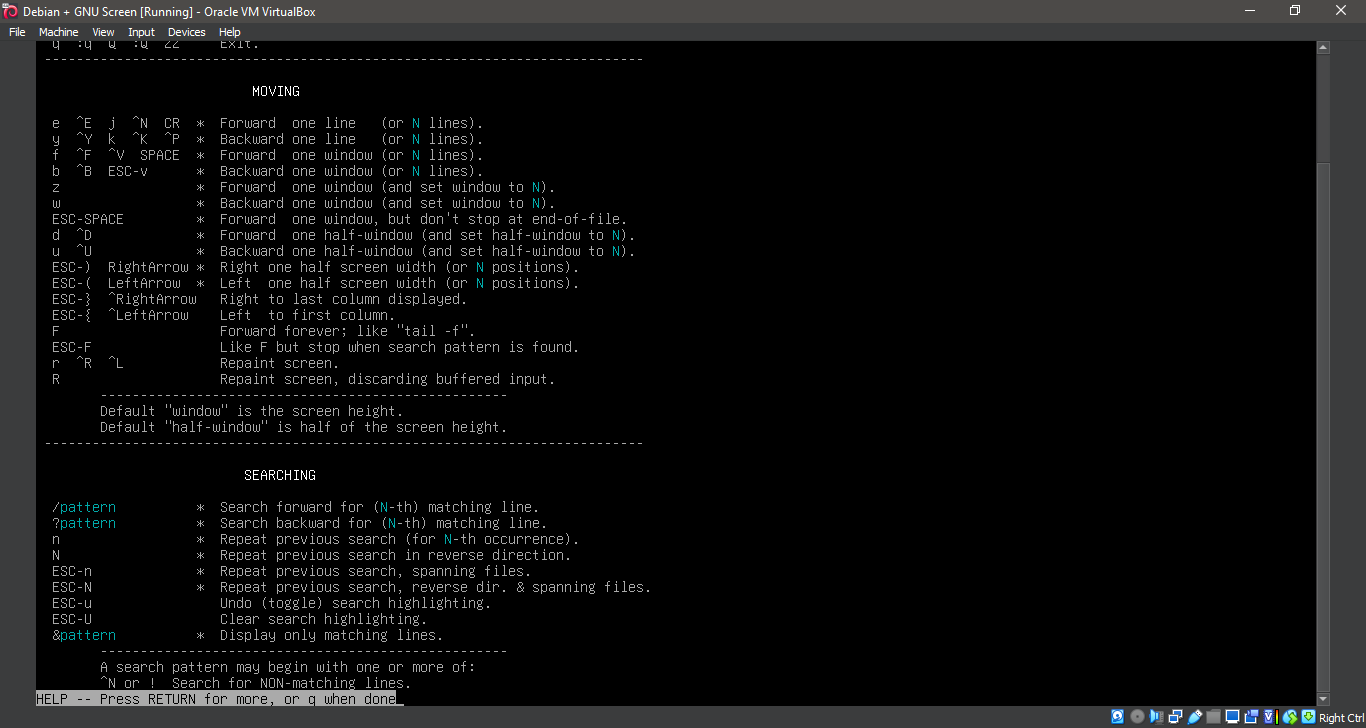
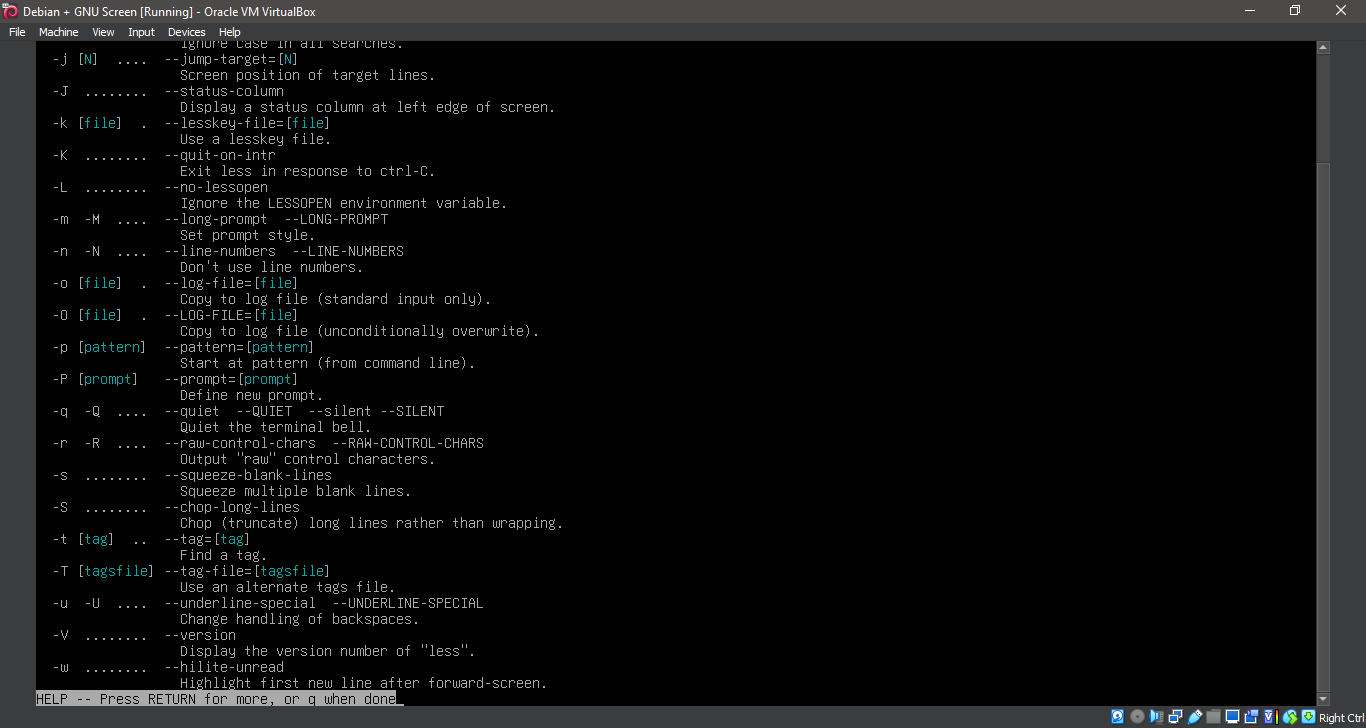
11. Running 'man screen'
man screen
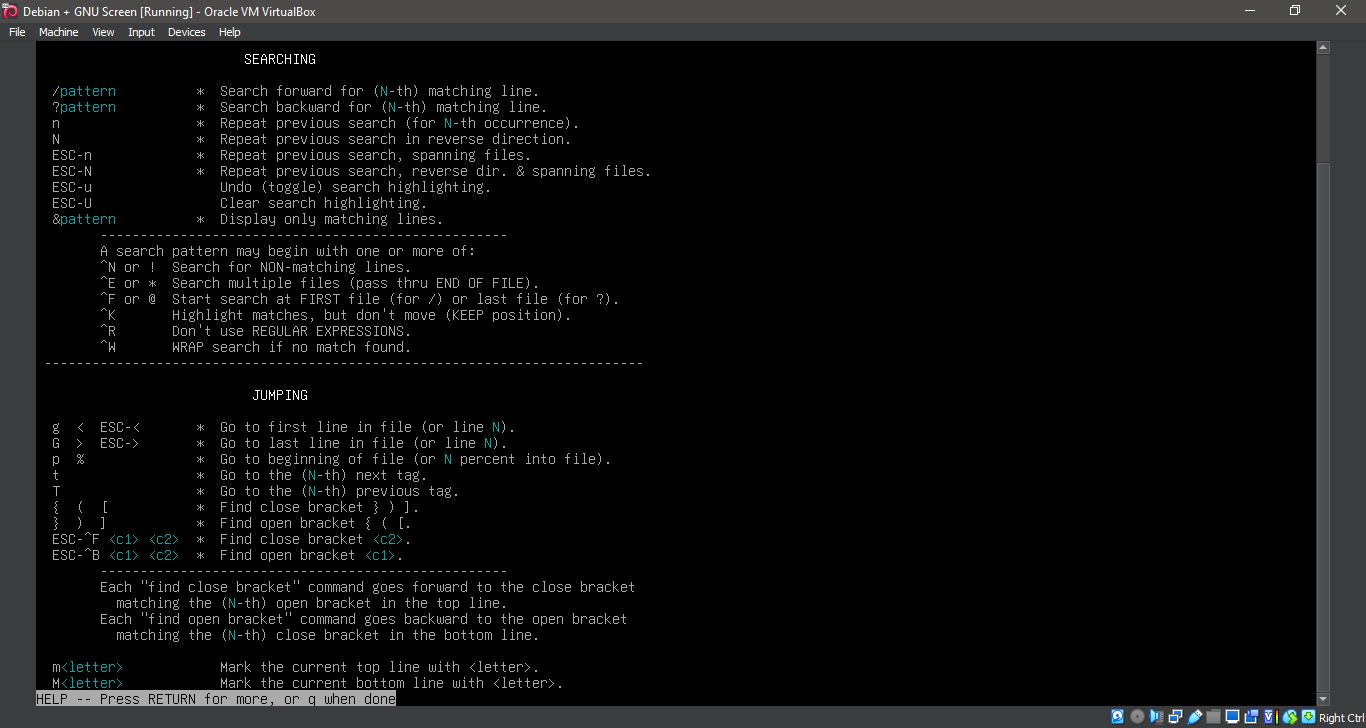
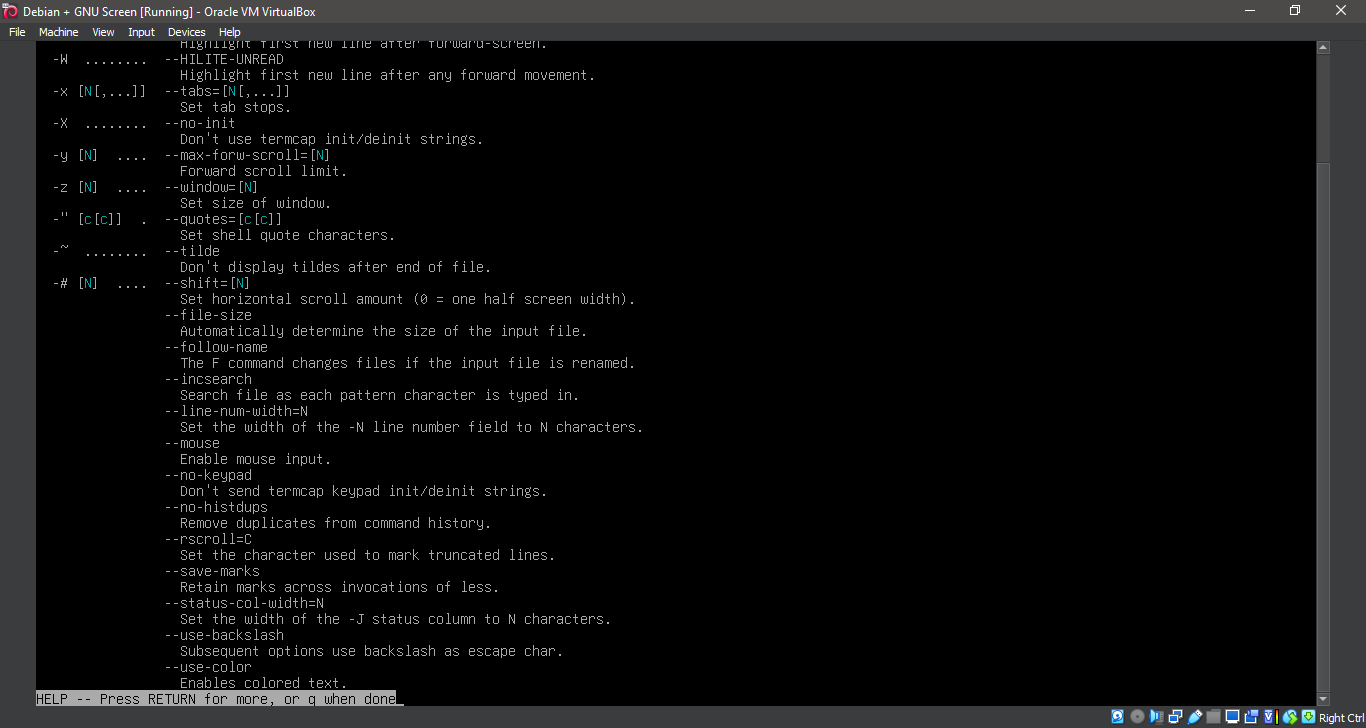
12. Running 'man screen'
man screen
13. Running 'man screen'
man screen
14. Running 'man screen'
man screen
15. Running 'man screen'
man screen
16. Running 'man screen'
man screen
17. Running 'man screen'
man screen
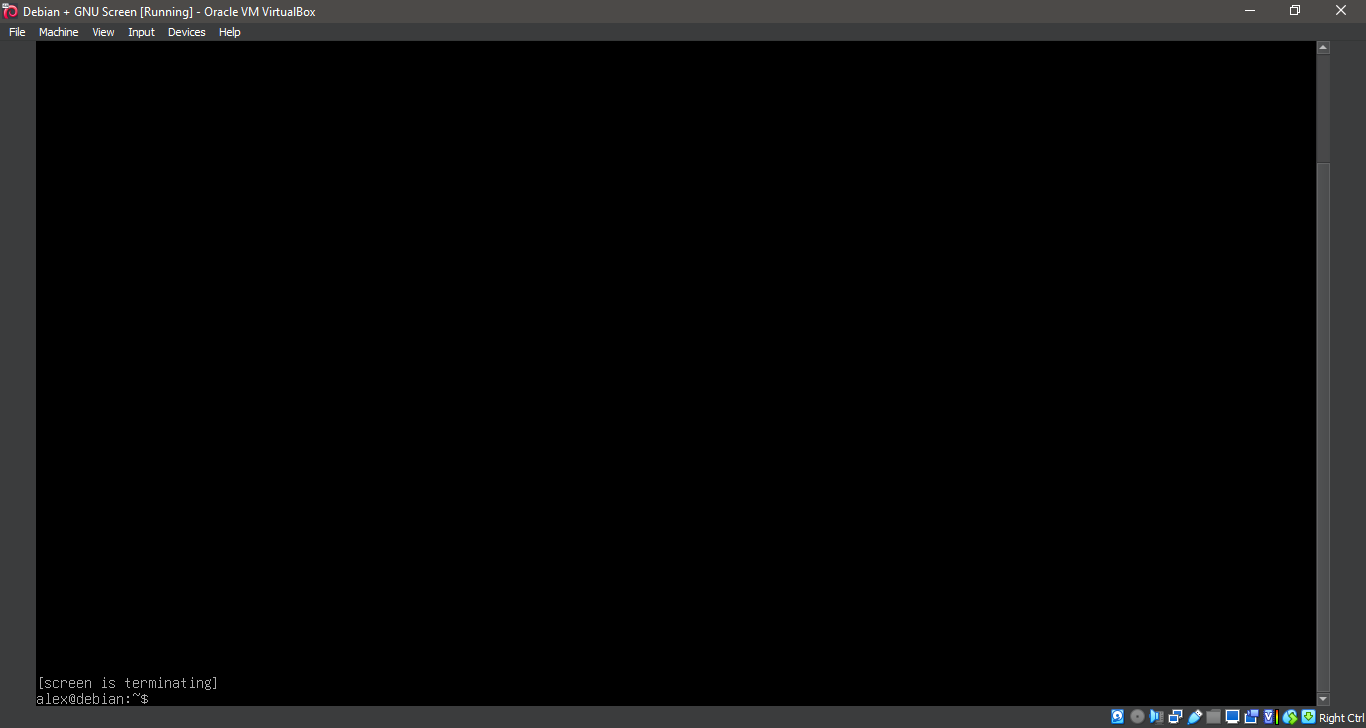
18. Exiting 'screen'
exit
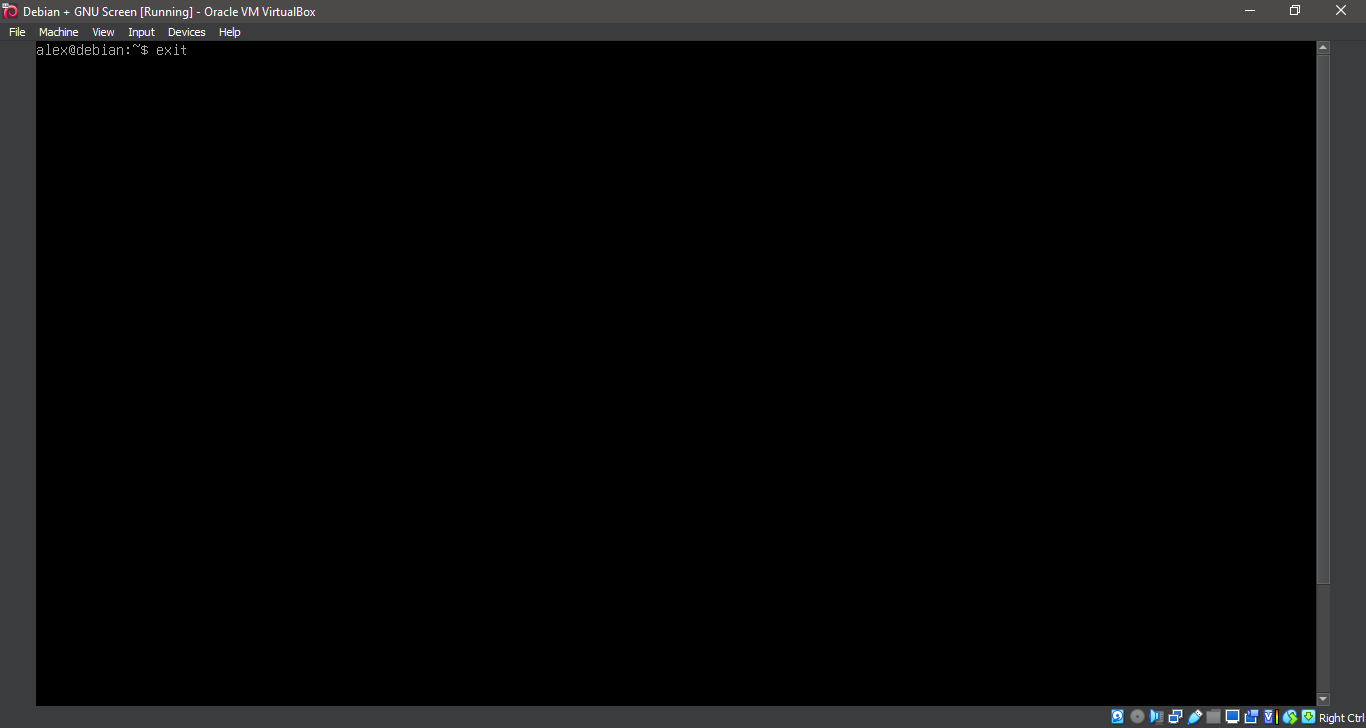
19. Exiting 'screen'
exit
Basic Usage
Once screen is installed, you can start using it by typing:
screen
Create a new session
screen
Detach from a session
Press Ctrl + A, then D.
List active screen sessions
screen -ls
Reattach to a session
screen -r session-id
Well, that was exciting. See you in the next one!
If you wish to support our project
Donation link (Buy me a coffee):